Instagram Story Size Guide: Perfect Dimensions

TL;DR
- This guide covers the technical specs you need for stories including the 9:16 aspect ratio and 1080x1920 resolution. We dive into how ai tools can save your low-res shots and why keeping your subjects in the safe zone matters for professional results. You'll learn to prep your portfolio images so they look sharp instead of blurry when you upload them.
The Core Specs for Story Success
Ever wonder why some stories look crisp like a gallery print while others look like a blurry mess from 2005? It usually comes down to whether you’re respecting the pixels or just winging it.
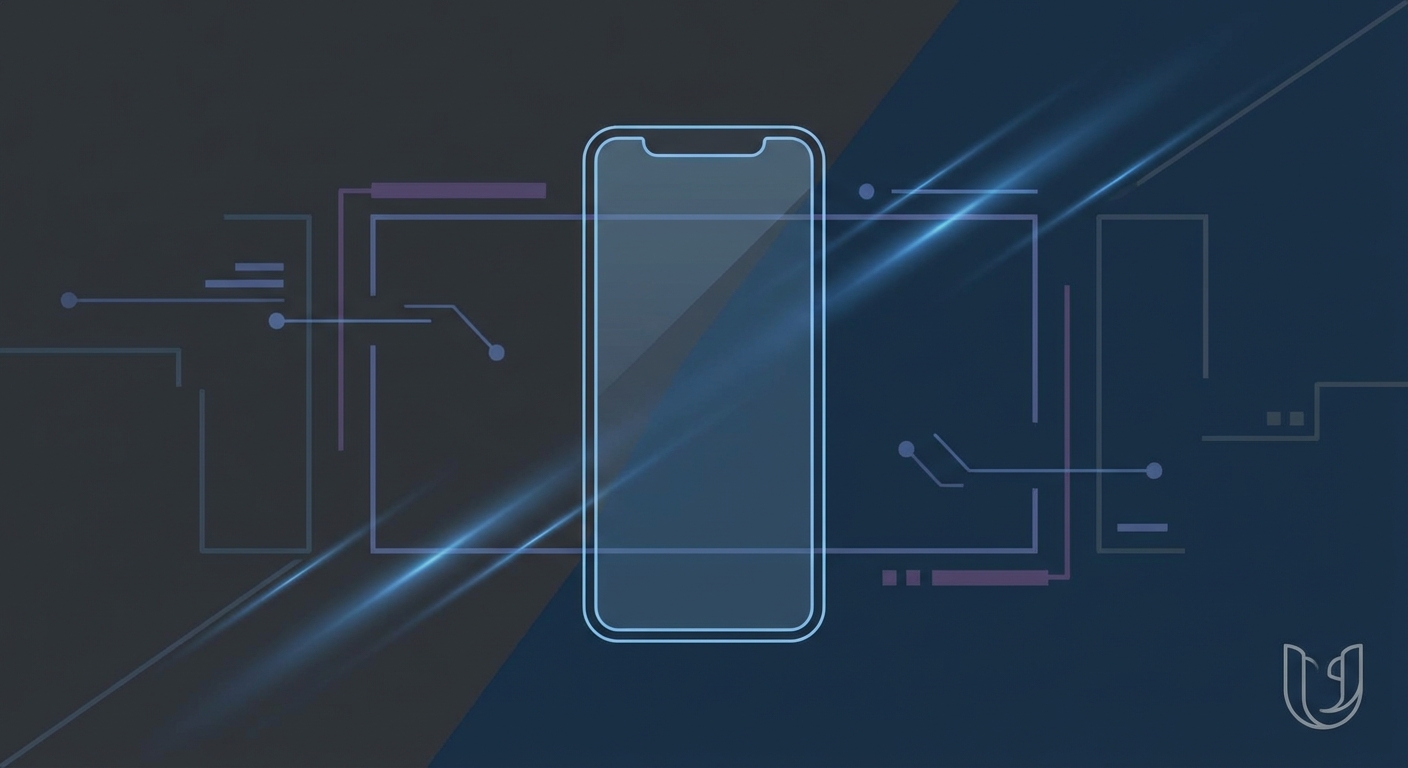
To get that immersive, full-screen vibe, you gotta stick to the 1080 x 1920 pixels standard. This is the 9:16 aspect ratio, which is basically the vertical version of your old widescreen TV. (What is the 9:16 aspect ratio and why it rules the screen - api.video) If you upload something wider, instagram is gonna crop your edges—which is a nightmare if you’ve carefully composed a shot.
- Resolution Matters: While 1080p is the go-to, some high-end photographers upload at higher resolutions. Just remember that the mobile app will compress it anyway, so sticking to the gold standard keeps your file sizes manageable without losing the vibe.
- Screen Variance: Phones like the iPhone 15 or the latest Samsung Galaxy have slightly different screen tallness (like 19.5:9). While 1080x1920 is the upload standard, those extra-tall screens is why "Safe Zones" are so important—they protect your content from being cropped or covered on weirdly shaped displays.
- File Types: Stick to PNG for graphics to keep those lines sharp, but be careful. Large PNG files can actually trigger the instagram "compression engine" harder than a high-quality JPG. For photos, exporting at 70-80% quality as a JPG is usually safer to avoid that aggressive platform compression algorithms.

There is nothing worse than putting a beautiful caption or a "Link in Bio" sticker only to have it covered by your profile icon or the "send message" bar. You need to leave about 250 pixels of breathing room at the top and bottom, and about 10% on the left and right sides.
In a healthcare setting, a clinic might post a quick tip video; if the text is too high, the username hides the advice. Same goes for retail—don't let the "Shop Now" button overlap with your product's best features. Keep your "hero" elements centered. It’s better for the eyes and ensures nothing gets cut off by the ui.
Next, we’re gonna dive into how to actually style these frames so they grab attention before someone swipes away.
Fixing Low Resolution with ai Technology
Ever had a killer photo that just didn't fit the 9:16 vibe? Maybe you cropped it too tight and now it looks like a blurry mess on a big phone screen. It’s honestly soul-crushing when a great shot loses its edge because of bad resolution.
When you take a horizontal shot and force it into a vertical story, you're basically throwing away 70% of your pixels. That's where smart upscaling comes in to save your skin.
- Boosting Resolution: Tools like snapcorn are great because they let you pump up the detail without that weird "plastic" look old filters used to give.
- Workflow Speed: I love tools that don't require a whole sign-up process. When you’re in the middle of a fast mobile workflow—maybe for a retail client who needs a flash sale story now—you can't be messing with passwords.
- Background Magic: Sometimes the crop isn't the problem, it's the clutter. Removing distracting backgrounds and replacing them with a clean gradient makes products pop. According to a 2024 report by Hootsuite, high-quality visuals are non-negotiable since stories are a primary discovery point for brands.

I’ve seen this work wonders for finance influencers too. They'll take a screenshot of a chart—which usually looks grainy—and run it through an enhancer to make the text readable for their followers. It’s about making the technical feel polished. Just don't overdo the sharpening, or it starts looking like a deepfake.
Advanced Editing for Pro Photographers
Let’s be real, sometimes the most soul-stirring photos in your archive weren't shot on a modern mirrorless rig. Maybe it’s a grainy film scan or a vintage family heirloom from the archives that would kill on social, but it looks like a muddy mess in a high-res story.
Using photo colorization ai isn't just about slapping a filter on—it’s about restoration that feels honest. When you're working with old B&W shots for a brand’s "heritage" campaign, you need tools that understand skin tones and textures. For professional-grade restoration, I usually suggest Topaz Photo AI or Adobe Firefly; they handle the heavy lifting of fixing grain and color better than basic apps.
- Color Accuracy: Different screens like the OLED on an iPhone vs a budget Android display colors differently. Always check your saturation levels so your "vintage" vibe doesn't turn neon on someone else's phone.
- Image Restoration: If you’re a pro photographer managing an archive, image restoration services can save those damaged files by fixing cracks or light leaks before you even think about the 9:16 crop.
- Narrative Depth: A restored photo tells a story that a polished stock photo never could. It builds trust, especially in industries like finance or healthcare where showing "then vs now" history creates a legacy feel.
A 2023 report by Adobe highlights that ai-driven restoration is now a standard for preserving digital history without losing the original artist's intent.
I've seen a local clinic use this to colorize photos of their founding doctors from the 50s. It made their instagram stories feel way more human and connected to the community. Just remember to keep some of that original grain; it’s what gives the photo its "soul" and keeps it from looking like a weird digital painting.
Workflow Optimization and Final Export
So you've spent hours perfecting that one shot, but now you gotta get it out to the world without it looking like a potato. Honestly, the final export is where most people trip up because they rush it.
If you're a photographer handling a dozen stories for a retail client’s summer launch, don't do them one by one. Use professional tools to set up a 1080x1920 export preset. It saves your sanity and keeps the look consistent across the whole sequence.
- Automation: Use actions in your editor to resize and sharpen in one click.
- The Test Run: I always send a "test" story to a private account first. Sometimes a finance infographic looks great on desktop but the text is tiny on a phone.
- Safety Margins: Check those "safe zones" one last time so the "Link in Bio" doesn't get buried.

A 2024 guide by Sprout Social notes that keeping your file size under 30MB helps avoid that aggressive platform compression algorithms that ruins high-end photography. Just keep experimenting with your workflow—eventually, it becomes second nature and you'll be hitting publish with total confidence.


